Digitizing Information
For a more in-depth understanding of the digitization process, see the technical lesson on Digitizing. Digitizing information is the process of manually capturing data from a georeferenced layer file. This is required because this layer file is a raster image, not a vector and none of the information has attributes associated with the data. For example, the position of a regiment at 2 PM cannot be individually referenced, the line representing it is just a series of dots on the image and has no information about the regiment’s position. The feature class file that will be created must be located in a geodatabase. The type of database can be a file geodatabase or a relational geodatabase; for this example, a file geodatabase will be used.
|
Procedure
1. The geodatabase is created using ArcCatalog. Right click in an empty space and select New. Then select a File Geodatabase (see Figure 1). For this example, a file geodatabase will be used. 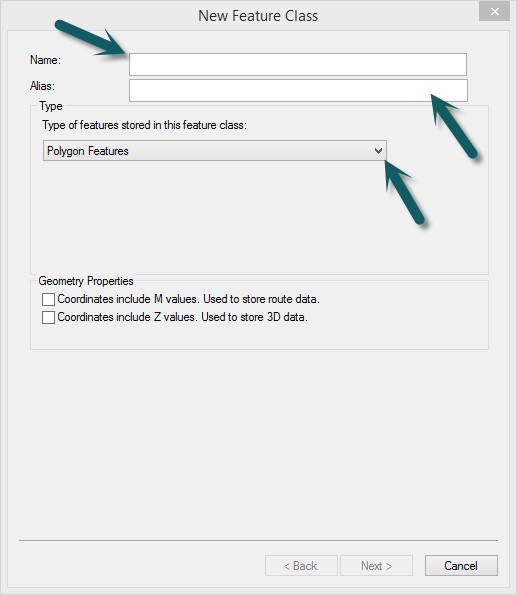
Figure 2: Creating a Shapefile
|

Figure 1: New File Geodatabase
2. After creating the geodatabase (or using an existing one), a feature class file must be created in the geodatabase. To create a new feature class file use ArcCatalog. Right click on the geodatabase and select New and then select Feature Class. Provide a descriptive name for the file using no spaces and a common name in the Alias box (which can use spaces). Then select the Feature Type, for this case a polyline is created. Give the new file a coordinate system; it is suggested that the same projection be used as that of the base layers. The next two windows can use the defaults.
|
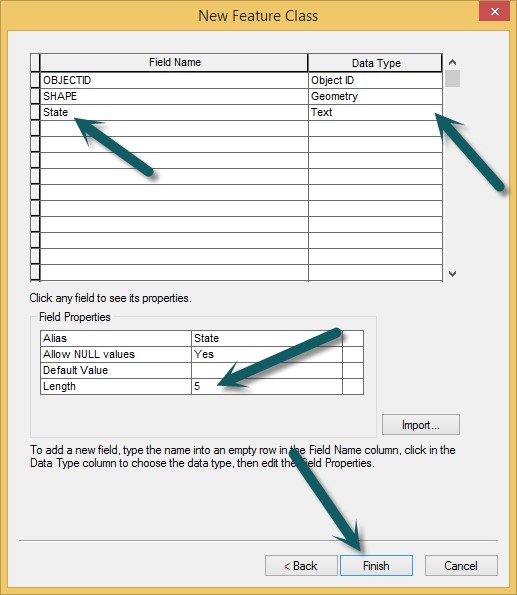 Figure 3: Field Creation
3. The file structure must be created with the appropriate fields. Typically, on a Civil War battlefield map project, units are digitized at the regimental level, since this was the basic fighting unit used during the Civil War. Many times larger units are referenced by the commander’s name.Items to consider for the file structure
Each field name must have no spaces and the creator must select the type of data. Different Field Properties will be created depending on the data type selected. Add all needed fields and information and then click finish, this will create the feature file. The field (attribute) creation is part of the database file s, additional fields can be added following this process using the methods described in step 4. If no additional fields are required, this section can be skipped.
- State of the regiment
- Regiment Number
- Side, i.e. Union or Confederate
- Type of unit, i.e. infantry, cavalry, artillery
- Unit commander
- Brigade commander
- Division commander
- Corps commander
- Army commander
- Time they occupied the position
- Time they were removed from the position
- Battlefield flag
Each field name must have no spaces and the creator must select the type of data. Different Field Properties will be created depending on the data type selected. Add all needed fields and information and then click finish, this will create the feature file. The field (attribute) creation is part of the database file s, additional fields can be added following this process using the methods described in step 4. If no additional fields are required, this section can be skipped.
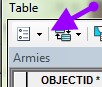 Figure 4: Attribute Table Options Figure 4: Attribute Table Options
4. Additional attributes can be added after the file has been completed by right click on the file and opening the attribute window. To create a field, click on the Option button (see Figure 19) in the attribute table and select add field. The field types cannot be modified after they are created. In Figure 20, the add field window is displayed. The field properties will change as you select different types of fields. You need to think through the type of field prior to creating it. On some fields, such as text fields, you will be able to select the number of characters. You cannot have the editor turned on during this operation. Close the add field window once the additional fields have been created.
|

Figure 5: Add Field
|
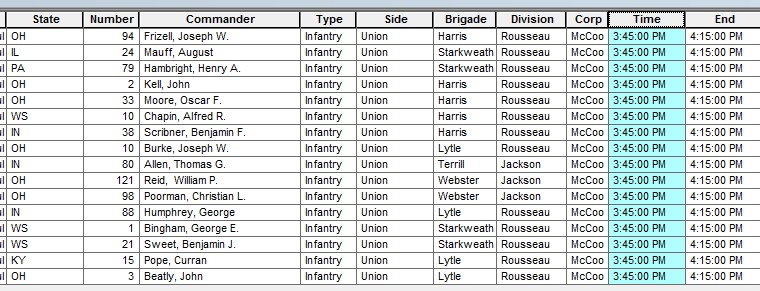
Figure 6: Attributes for Troop Positions
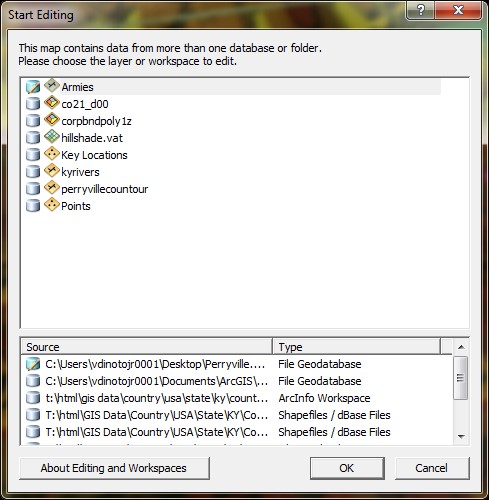 Figure 7: Select field to edit
5. Once the feature file has been composed the Editor Toolbar is used to digitize the information and provide the appropriate attributes. Make sure the edits are saved as this is not an automatic process. To digitize a regiment’s location at a specific time period, have a georeferenced map showing the troop positions. Turn on the editor, by using the pull down on the on Editor Toolbar. If the editor toolbar is not visible it needs to be selected.
6. Select the file to be edited. Double click on the file to select it for editing. Then select the line feature.
6. Select the file to be edited. Double click on the file to select it for editing. Then select the line feature.
 Figure 8: Attribute window
7. Select the attribute window see figure 8. The attribute window will become a tab on the bottom of the editing window, see Figure 9.
8. Using your mouse or a digitizing pad, select the starting position, then select the next position of the unit, if this is the final position, double click. When the item has been completed go to the attribute window and complete the information required for the record.
9.Digitized important places included as well as stream locations and units. Continue digitizing the positions of units; if you use any of the tools from the Editor Toolbar, you will need to again select the line function in the editing window. The results shown in figure 9 are some of the digitized houses and troop positions of the Union army. |
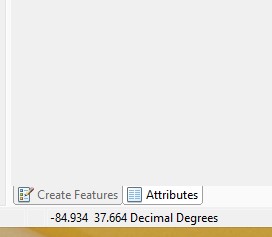
Figure 9: Attribute Tab
|
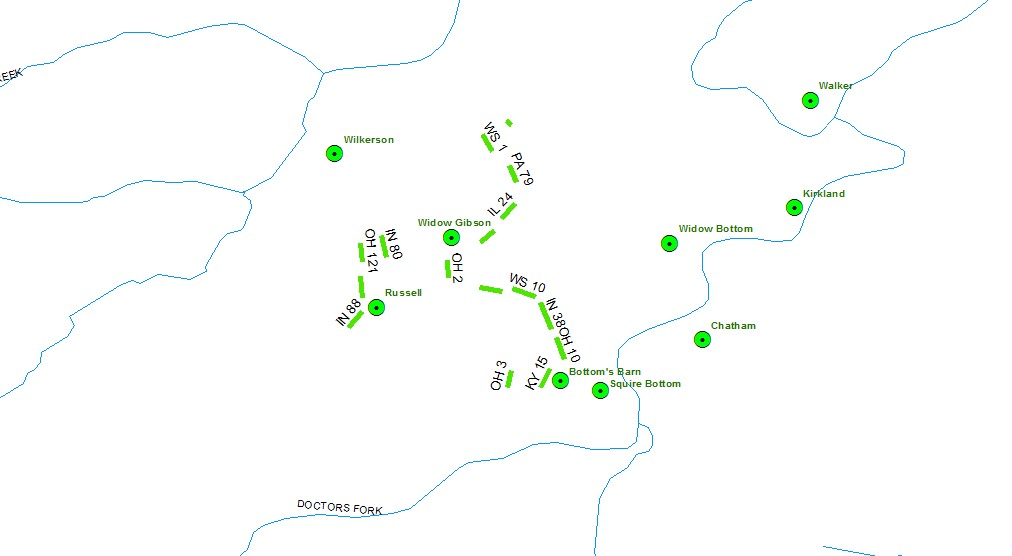
Figure 10: Union Troop Positions at 3:45 PM on October 8, 1862. Digitized important places included as well as stream locations and units.
